One of my biggest hobby is electronics and repairing stuff. I don’t have that much money so I have a lot of trick in my sleeve. Dive with me in my world.
Introduction
As an engineering student, I love working on my major projects, but I also enjoy experimenting with affordable DIY projects on the side. Like many students, I don’t have access to high-end equipment such as 3D printers or laser cutters.
Today, I’d like to give you a tour of the equipment I use to build my various projects. Similar to other articles on my blog, the focus will be on electronics and small-scale crafts. Think of it as a room tour, engineering-style.
While I do plan to showcase my electronics-related gear in the future, for now, let’s concentrate on DIY and repair projects.
Aliexpress is your ally
While I’m not particularly a huge fan myself, I primarily source all my equipment and materials from AliExpress. It’s much more affordable, and these days, the delivery times are quite reasonable.
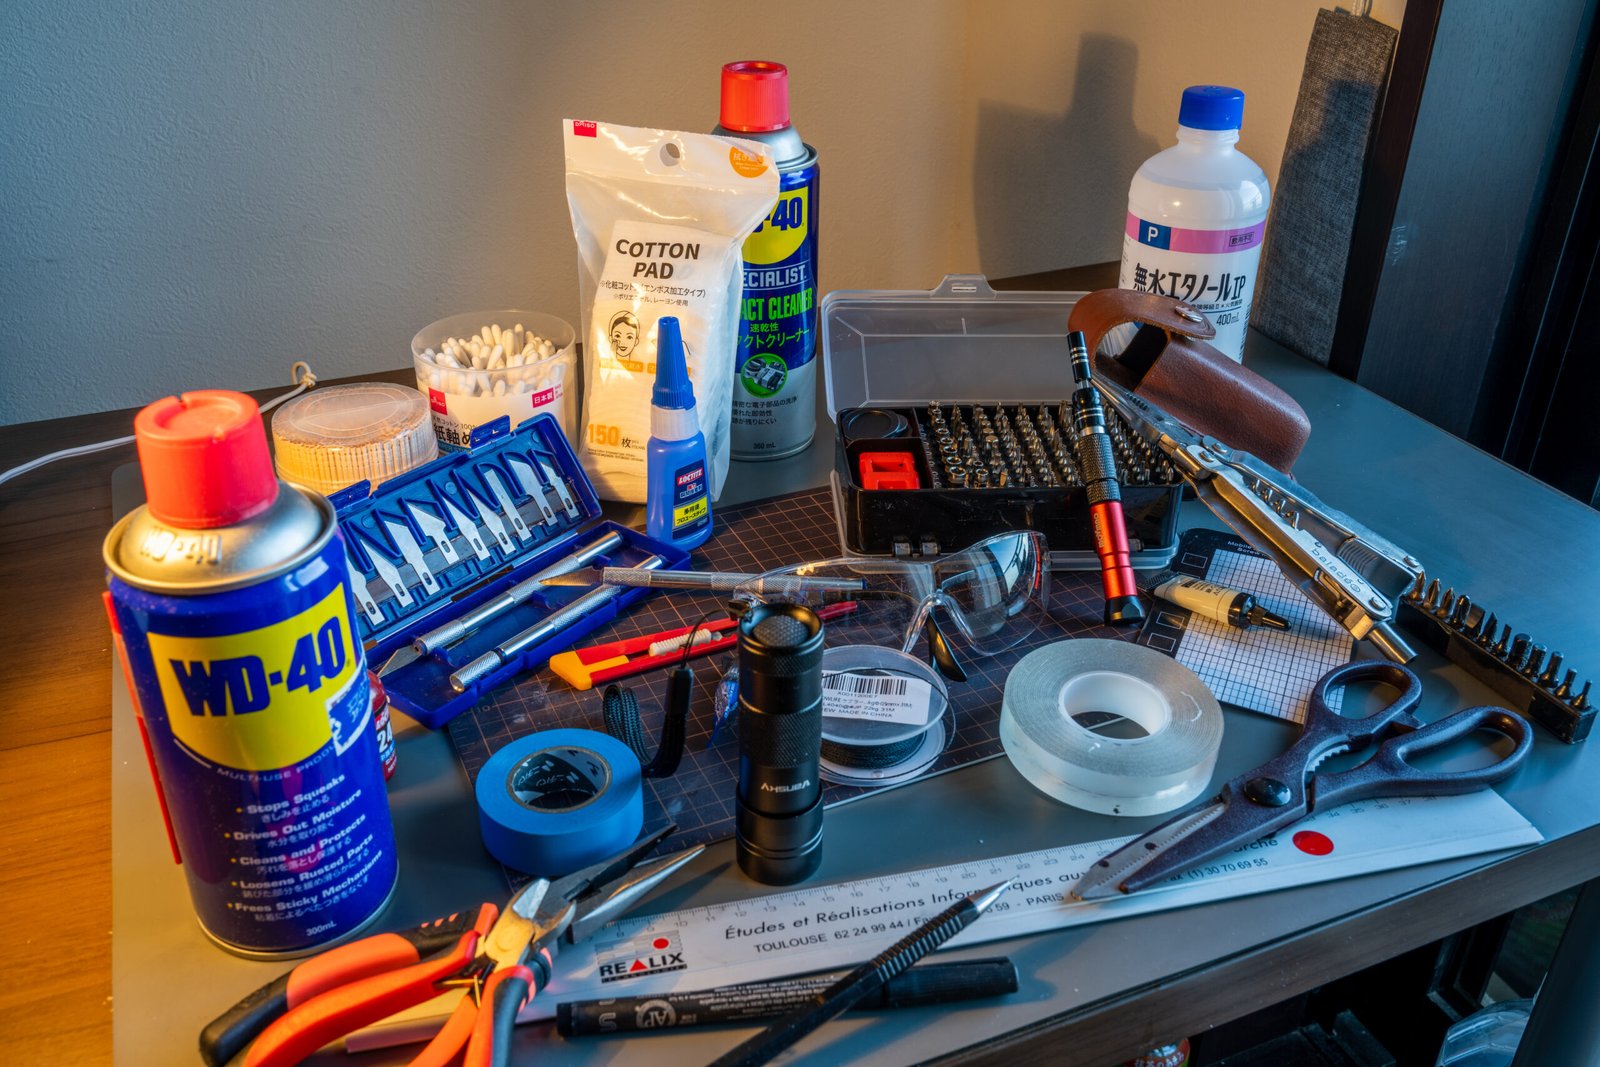
Repairing stuff and cutting things

It is the DIY part of this article, it is aim toward people that want to build tiny objects or repair things. When friends want my help for something it is usually the only things they see from my “Workshop”.
The most important things is the cutting mat because you don’t want to damage your table. Carving knife and cutter are nearly the same but I prefer carving knife when I want to shape plastic. I don’t have much to say on this part.
Dissassembling things

This is my go-to kit whenever someone asks me to open their laptop or handle any screw-related repairs.
I highly recommend the MOVMAO Precision Screwdriver Set, 145 in 1 Torx Screwdriver. It’s incredibly useful, providing a wide range of screw heads and tools specifically designed for computer repairs. Despite its affordable price, the quality is impressive, and the screwdriver even comes with a built-in extension rod for those hard-to-reach areas.
Cleaning stuff

For cleaning objects, I primarily use high-percentage isopropyl alcohol (>95%) along with cotton pads and Q-tips. It’s an effective and straightforward method for getting things clean.
Draw things

It’s quite straightforward: I have a mechanical pencil, a marker, a ruler, and some Kevlar string for drawing circles.
Glue, resin and scotch

For my DIY and repair projects, I primarily use Cyanoacrylate glue in both gel and liquid forms. This glue is versatile and works well for a variety of applications, although it can bond skin quite effectively, so caution is advised. I frequently use Loctite threadlock when screwing components together, applied using a toothpick for precision.
For securing small cables in electronics, I sometimes use UV resin, though it’s important to ensure the UV light can fully penetrate the resin for proper curing. Electrical tape is my go-to for temporary fixes or securing cables in place. Lastly, I have a strong, gel-type double-sided tape that I use for temporarily adhering items to my work surface.
Lubricant

I primarily use WD-40 for lubricating and cleaning various items. While it might not be the cheapest option, it serves as a versatile cleaner and lubricant. For cleaning USB ports on laptops and phones, I rely on contact cleaner, which is incredibly effective most of the time.
Safety gear
While I don’t have a picture to show, I always use anti-cut gloves and safety glasses to protect against any potential splinters or injuries.
Conclusion
I hope you found this workbench tour insightful. Sharing my tools and materials offers a glimpse into my DIY and repair process. The next article will dive deeper into my workspace and projects.
There’s always something new to learn in Engineering and DIY.
Stay tuned for more articles diving into electronics, repairs, and DIY.
Leave a Reply